
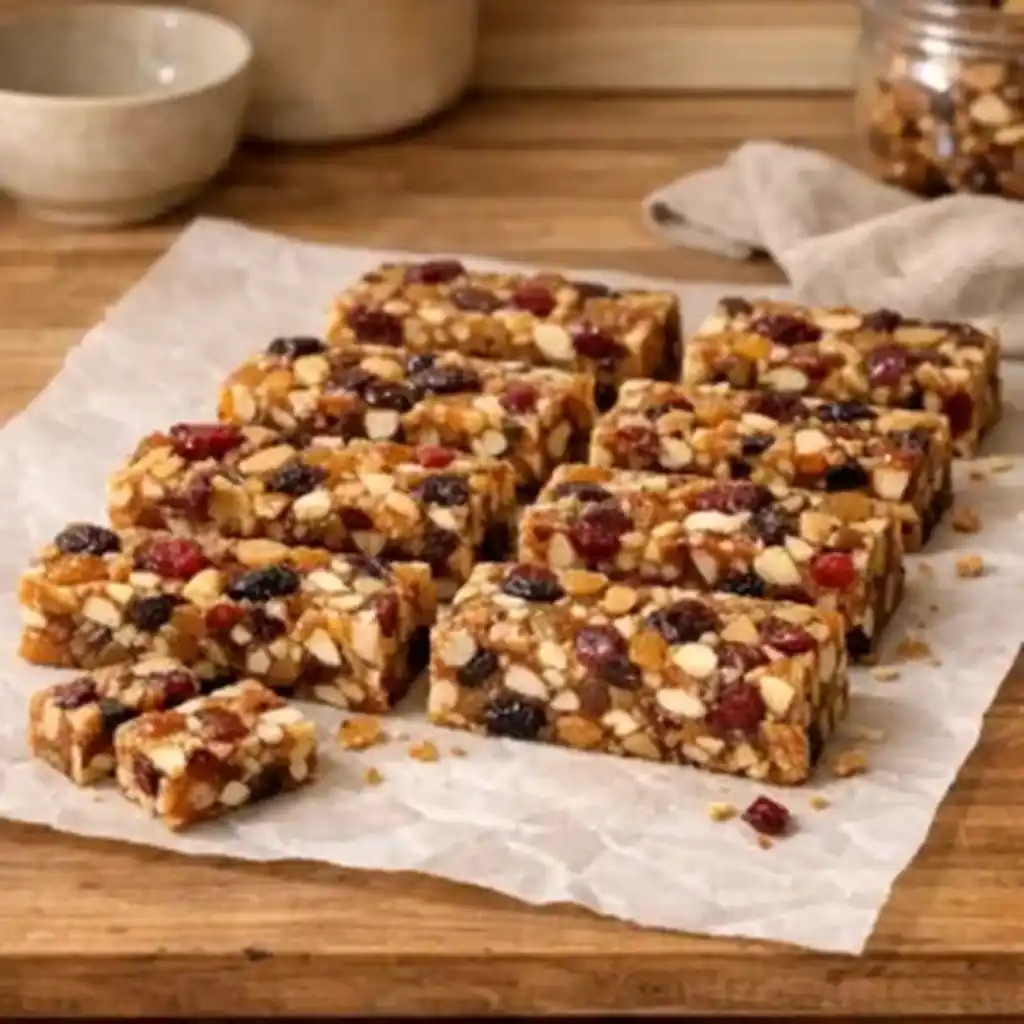
Hello, I’m Sam. Since retiring, I’ve come to appreciate meals that feel comforting without being complicated. This recipe is one of my reliable go-to dishes, easy steps, warm flavors, and nothing fussy. If you enjoy simple, everyday cooking, this one will fit right into your routine. When I want a steady snack alongside something sweet like Banana Chocolate Chip Cookies, this fruit nut bars recipe always feels just right.
Why This Recipe Works
- It uses straightforward steps that never feel rushed.
- The balance of fruit and nuts gives steady energy and comfort.
- Most ingredients are pantry friendly and easy to keep on hand.
- It is beginner friendly, even if baking feels intimidating.
- Cleanup stays simple with one bowl and one pan.
- The bars hold together well for reliable results every time.
Ingredient Breakdown
Dried fruit. Dried cranberries, raisins, or chopped apricots add sweetness and chew. They also help bind the bars, and you can swap based on what you have.
Nuts. Almonds, walnuts, or pecans bring crunch and richness. Use one type or a mix, and chop them so every bite feels balanced.
Rolled oats. Oats give the bars structure and make them feel filling. Quick oats work in a pinch, although rolled oats hold texture better.
Honey or maple syrup. This provides natural sweetness and helps everything stick together. Either option works without changing the process.
Nut butter. Peanut butter or almond butter adds flavor and stability. Choose a smooth style for the easiest mixing.
Salt and vanilla. A small pinch of salt and a splash of vanilla round out the flavors and keep the bars from tasting flat.
Step by Step Cooking Guide
Start by lining a small baking pan with parchment paper. This step makes removal easy later and keeps the bars looking neat.
Next, add the oats, chopped nuts, and dried fruit to a large bowl. Stir gently so everything is evenly distributed before adding wet ingredients.
In a small saucepan, warm the nut butter and honey over low heat. Stir slowly until smooth, then remove from heat. Add the vanilla and salt while it is still warm.
Pour the warm mixture over the oat mixture. Using a spatula, mix slowly and thoroughly. Take your time here so every piece gets coated.
Transfer the mixture to the prepared pan. Press it down firmly using the back of a spoon or clean hands. This step is key for bars that hold together.
Bake in a preheated oven until the edges look lightly golden. The center should feel set but not hard.
Let the pan cool completely on the counter. Once cool, lift the slab out and slice into bars with a sharp knife.
Tips and Helpful Notes
If your bars feel crumbly, press the mixture more firmly before baking. Pressure creates better binding.
For softer bars, reduce baking time slightly and let them set fully as they cool.
Taste the mixture before baking and adjust sweetness if needed. A little extra honey goes a long way.
These bars can be made ahead and sliced later, which makes them great for planning snacks in advance.
Serving Suggestions and Internal Links
These fruit nut bars are easy to enjoy on their own, although they pair nicely with coffee or tea. For a balanced snack plate, serve alongside something chocolatey like High Protein Chocolate Peanut Butter Bars.
If you enjoy homemade baking snacks, you might also like The Best Chocolate Chip Cookies in Small Batches for quieter afternoons.
For a slightly lighter crunch, Air Fryer Cookies Recipes can be another simple option.
Storage and Reheating
Store the bars in an airtight container at room temperature for up to three days. For longer storage, keep them in the refrigerator for up to a week.
These bars do not need reheating, although letting chilled bars sit at room temperature for a few minutes softens them nicely.
FAQs
Can I make this fruit nut bars recipe without baking?
Yes, you can press the mixture firmly and refrigerate it until set. The texture will be softer but still enjoyable.
Which fruits work best?
Dried fruits with some chew work best, such as cranberries, cherries, or raisins.
How do I keep the bars from falling apart?
Make sure the mixture is warm when combined and press it firmly into the pan before baking.
Are these bars freezer friendly?
Yes, wrap them individually and freeze for up to two months.
Conclusion
This fruit nut bars recipe is one of those simple kitchen habits that quietly makes life easier. It uses familiar ingredients, gentle steps, and rewards you with steady, dependable results. Whether you pack them for the day or enjoy one at home, they offer comfort without extra effort. I hope this recipe finds a regular place in your routine, just like it has in mine.